
Soulful Boom Bap x Skyzoo Type Beat (DOWNLOAD)
Download Soulful Boom Bap Elzhi x Skyzoo type beat
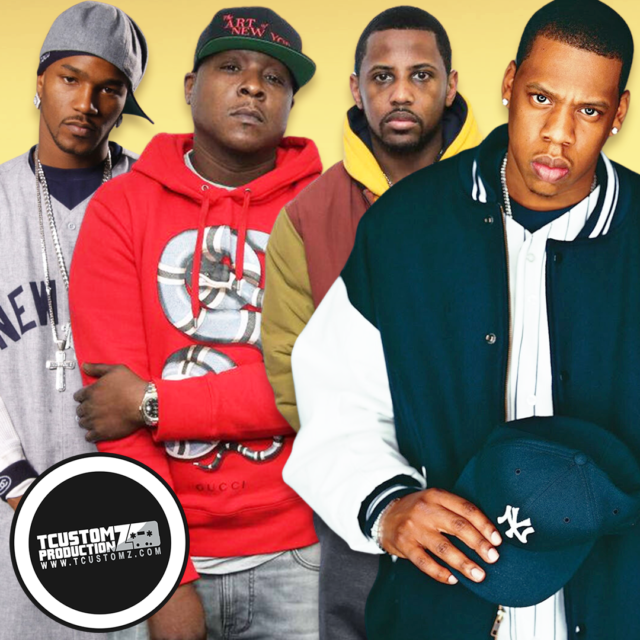
Title: “Comeback” | Tempo: 87 BPM | Key: AflatMinor | Produced by TCustomz.
??
FREE DOWNLOAD / BUY THIS BEAT UNTAGGED BELOW
BEAT TITLE: “COMEBACK”
— none —
Full-screen Mobile Player (Click […]