Here is the Part 2 bass line tutorial as promised. Instead of this being two-part series as I had first mentioned, I have included extra info in this tutorial to help you in preparation for recording your bass line and Part 3 will cover the final recording process.
This tutorial covers:
Filtering the Sample using a High-pass Filter (HPF): By applying a HPF to your sample, you will be removing some of the lower (bass) frequencies and allowing room for the bass line you are going to compose. As I mention, I usually set my filter threshold at around 200-300 Hz. If you don’t apply a filter to your sample, you may run into problems with the low-end frequencies clashing during your mixing process.
Picking a Bass Sound: Picking an appropriate bass sound really comes down to your personal preference and the track that you’re working on. I highly recommend Spectrasonics Trilian if you are looking for a solid bass virtual instrument to use with your DAW. There are a ton of awesome presets and the patches are pretty easy to tweak if needed.
Finding the Key: Having some music theory under your belt (as I talk about in the Bass Line Tutorial Part 1) is very helpful when trying to identify the key of your sample. BasicMusicTheory.com has some good information to get you started.
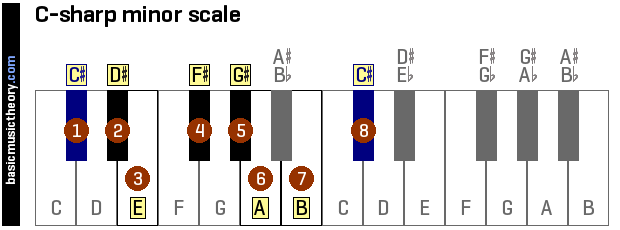
Transpose the Bass to a “Playable” Key: For those of you who aren’t fluid at playing the keys, this step should help you out. This will help you transpose a key like C#m:
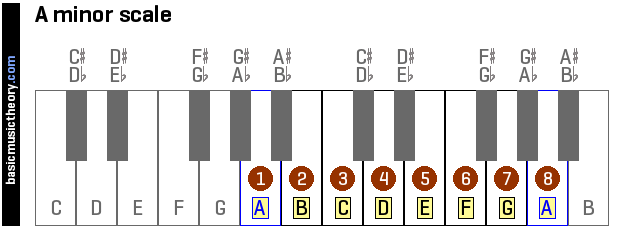
and transpose it into a more “playable” key like Am, where you are only playing white keys:

Hopefully this offers you some more insight into the process I go through to create a bass line for a sampled beat. If you missed the Part 1 tutorial, you can watch it here.
SUBSCRIBE to our Youtube Channel for all our latest beat making videos and tutorials!
Until next time, Happy Beat Making! – www.TCustomz.com
Feel free to drop a comment below


Comments (0)